Colour management for photographers
10. Camera profiling
Most cameras have a more or less pronounced factory-set colour look. It can make sense to remove this via profiling and obtain a neutral image instead if you work with reproductions, for example, if you’re photographing a painting and are aiming to reproduce it as true to the original as possible. Otherwise, my feeling is that camera profiling is not necessary for a lot of photographic work, as you usually determine the final look of an image later during image editing anyway and the image should only rarely look exactly true to life.
This step is often referred to as camera calibration. However, it is not the camera as such that is calibrated. Instead, a conversion profile is created to generate conversion settings that should result in an image file that is as lifelike as possible.
Camera profiling only works when you photograph in RAW. The image processing programs I know cannot apply profiles to *.jpg files. In addition, a camera profile always only fits the currently prevailing lighting situation. As soon as you change to a different ambient light, you should really create a new profile. Of course, you are free to try out camera profiles created in other lighting situations – perhaps you like the colours. However, they will only be completely colour neutral in the light of the calibration.
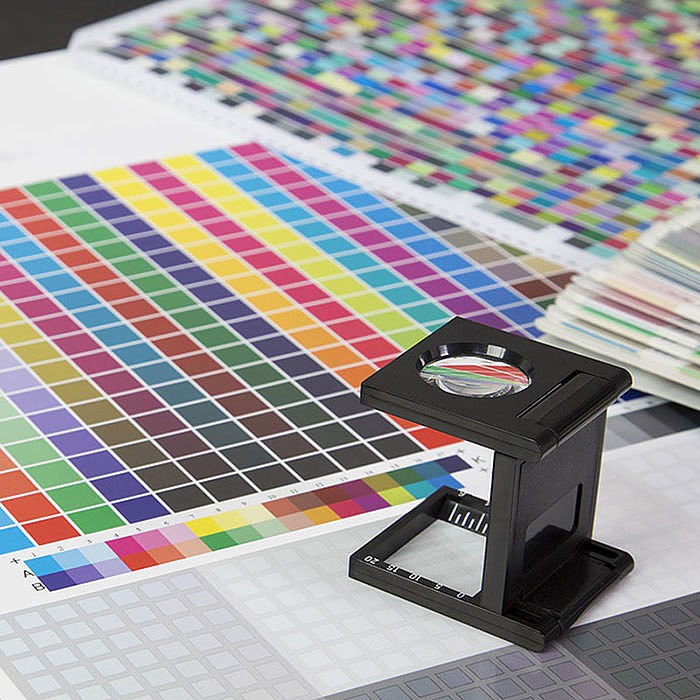
To create a camera profile, you need a target, that is, a colour chart with defined colours and a programme that creates a profile for the camera from a photo of this colour chart. A popular colour chart is, for example, ColorChecker from X-Rite. When I photograph works of art, I place the colour chart for a photo in front of one of the works of art in order to take a photo of the colour chart in exactly the same light in which I photograph the works of art. This is equally applicable to product photos, or any photo in general where correct colour reproduction is important to you.
From the X-Rite website, I downloaded and installed a Lightroom plug-in with the camera calibration software that creates a camera profile from such a photo. To do this, I select the photo with the colour chart on it in Lightroom, start the export and select the X-Rite default settings instead of the hard drive under Export To:
In the export dialogue that is now much clearer, you only need to make one entry for a simple profile: What name should you give it? I enter the name of the camera here, the lighting situation (flash, daylight, light bulb and so on) under which it was produced and possibly some information about the occasion on which it was created – in this case while photographing the artworks of sanne-impressionen.de.
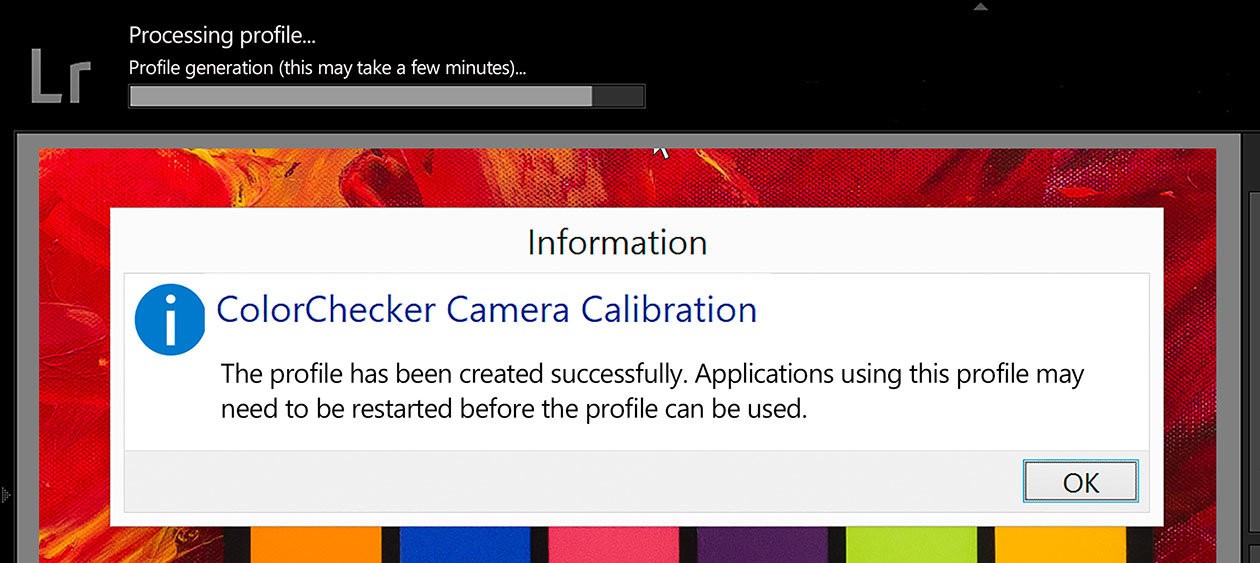
If you now start the export, Lightroom performs calculations on the photo for an amazingly long time, until at some point the message appears that the profile has been successfully created.
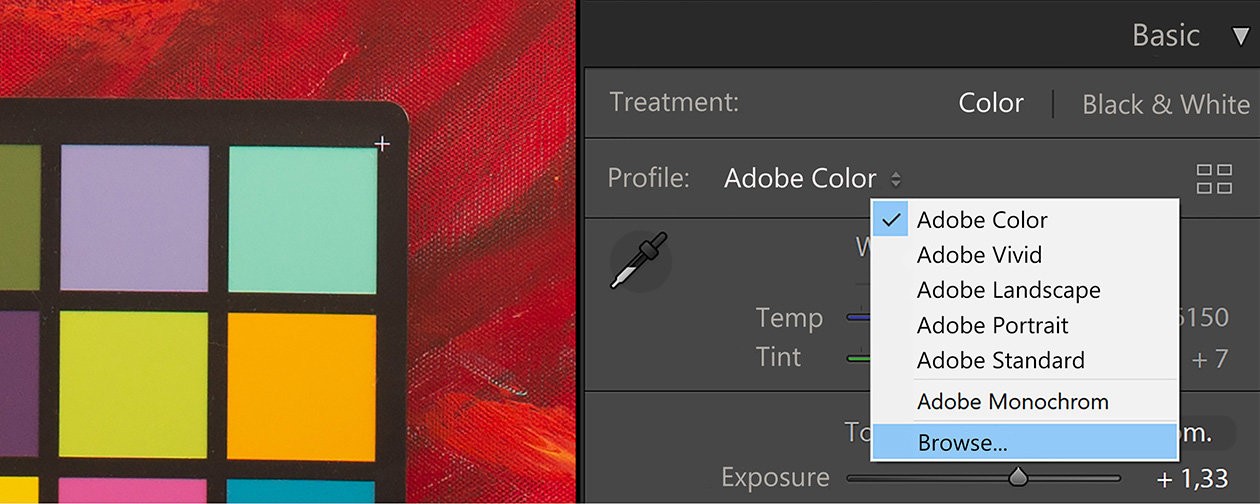
Now you must first restart Lightroom, otherwise your newly created profile will not be displayed. After restarting, you will find your profile in the Develop module as the first thing in the Basic settings. If you click ‘Profile’, you will first see only a handful of predefined Adobe profiles. This is just a quick view of your favourite profiles. Click ‘Browse’ to see all the installed profiles. If the menu does not yet contain the ‘Browse’ item, Lightroom will still load the settings for the image, which can sometimes take a moment.
Click ‘Browse’ to open the Profile Browser. Lightroom shows a number of profiles here, also for effects and different black/white conversions. You will find your newly created camera profile here under ‘Profiles’.
If you hold the mouse over a profile, it will be applied to your image, so you can also see in large size how the profile will affect your image before selecting it.
I tend to get stronger and more fitting colours when I use a camera profile than when I work without one, even if the profile originates from a different lighting situation. It is therefore worth trying out this profile even if colour-correct reproduction is not important.
There are of course several programs and solutions for creating camera profiles, such as datacolor’s SpyderCHECKR. These include solutions that work outside of Lightroom. In principle, they all work like X-Rite ColorChecker presented here, each with a comparable range of functions. When you purchase such a solution, you must make sure that you can use the created profiles with your RAW developer. In general, as with all such calibrations: The more colours a colour chart has, the more accurate the result will be. The simple ColorChecker with its 24 colours primarily covers saturated colours. The large ColorChecker Digital SG with its 140 colours covers a much wider range that can be calibrated with it.


